There is no item in your cart

Cart
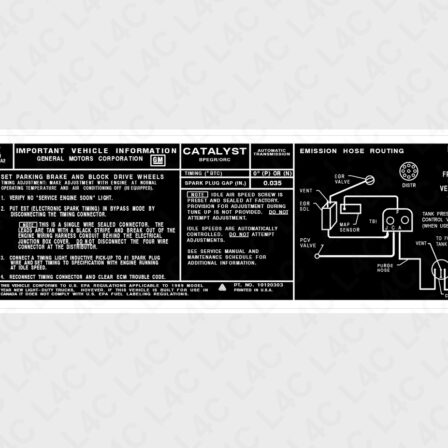
Installation Guide
Thank you for purchasing custom car decals from LabelsforCar. To ensure the best result and long-lasting adhesion, please carefully follow the instructions below.
1. Tools You May Need
-
Clean soft cloth or microfiber towel -
Mild soap and water (or alcohol-based cleaner) -
Plastic squeegee or credit card -
Masking tape (optional, for alignment) -
Spray bottle with water and a few drops of soap (for wet application)
2. Surface Preparation
Proper preparation is **essential** for strong adhesion:
- **Choose a suitable location:** Find a clean, dry, and flat surface on your car.
- **Clean thoroughly:** Wash the area with soap and water, then wipe with alcohol to remove grease, dust, or wax.
- **Ensure dryness:** Dry the surface **completely** before applying the decal.
3. Application Methods
Dry Method (Recommended for small decals)
- Peel off the backing paper carefully, exposing the adhesive side.
- Align the decal on the desired spot (use masking tape for perfect alignment if needed).
- Apply the decal starting from the center, pressing outwards to avoid bubbles.
- Smooth it out thoroughly with a squeegee or credit card.
Wet Method (Recommended for large decals)
- Spray the application area with the water + soap mixture.
- Peel the backing and lightly mist the adhesive side of the decal.
- Position the decal on the surface; the water will allow adjustments for about 5 minutes.
- Use a squeegee to push out water and air bubbles from the center to the edges. Wipe up excess water.
- Allow **24 hours to fully dry** before removing the clear transfer tape (if applicable) and washing the car.
4. Aftercare
- Do not wash the car for at least **48 hours** after application.
- Avoid high-pressure washing directly on the decal edges.
- Decals are weather-resistant, but avoid harsh, abrasive chemicals when cleaning.
5. Troubleshooting
- Air bubbles: Use a pin or fine needle to puncture the bubble and gently press the air out with your finger or squeegee.
- Peeling edges: Re-press firmly with a squeegee or apply gentle heat (hairdryer on low) and press again.
- Misalignment: For wet application, you can easily reposition the decal before drying. For dry application, slowly peel back the decal and reapply.
6. Contact Us
If you encounter any issues or need assistance, feel free to reach out:
We are always here to help you achieve the perfect installation!
Guaranteed safe checkout


© 2025 Labelsforcar.com. All rights reserved. Professional automotive restoration solutions worldwide